The simpliest project.

In this topic we will show you instructions how to create your first project, using minimum set of options. This will be a simple Excel document, protected with password.
- Create a folder for your project on hard drive. In our example this will a C:\LockXLS Sample Project. LockXLS will create all protected file in this folder.
- Copy your Excel document (in our sample - Example.xls) to this folder.
- Start LockXLS. New project is automatically created.
- Save this empty project under name Example.lxp in this folder.
- Now we should add Excel file, which will be protected, to project. Use File | Add New File menu command or plus button on toolbar.

Leave default values for all options on the file's tab. - When file is added, we should specify protection options. Select New Project node in project tree, and then select Protection Options tab.
- By default LockXLS offers to protect file with password. Enter password test in the Password which should be entered to open workbook edit box.

Do not change other options on this tab. - Now LockXLS has enough data to protect this file. Use Project | Build Project menu item or button on toolbar to build your project.

- Save your project after Build command.
- After this in C:\LockXLS Sample Project you will find Example_Locked.xls. This is protected file created by LockXLS.

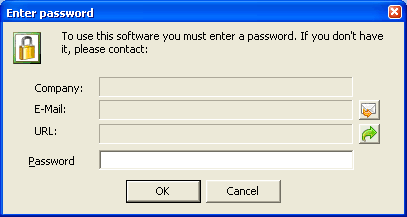
Double click on this file to test it.

You must enter password test to open this it.

