Make your file ready to distribution.

In this example we will create a file which has the most common features needed for distribution. We will build our project based on a project from previous example.
Possible, your customer does not want to install LockXLS Runtime on his PC, or does not have rights for this, or may be any third-party Add-Ins are prohibited in his company. We will distribute our file as application. It does not require any additional files to be installed on customer's PC.
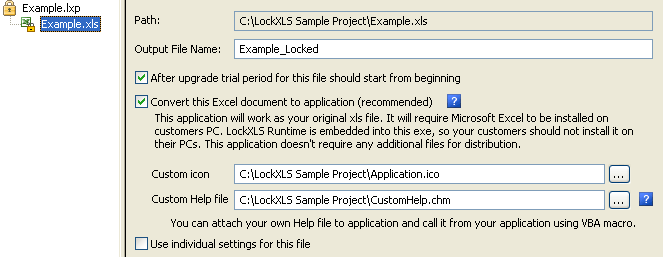
Select Example.xls node in the project tree, and then check Convert this Excel document to application. Also we assign
our own icon to this file. Path to .ico file should be selected in the Custom Icon edit box.
Our project has a Help file, called from VBA macro assigned to button. In Example.xls we've created a ShowHelpFile procedure and attached it to button. Help file CustomHelp.chm was created using Html Help workshop, it is included into LockXLS setup package. Select this file in the Custom Help file edit box.
Rebuild this project and open C:\LockXLS Sample Project folder. Now this folder contains Example_Locked.exe file. This file does not require LockXLS Runtime Module. You can copy it to other PC and run - it will open protected document and ask you for a password. Show Help File button in file shows CustomHelp.chm.
Protection Options
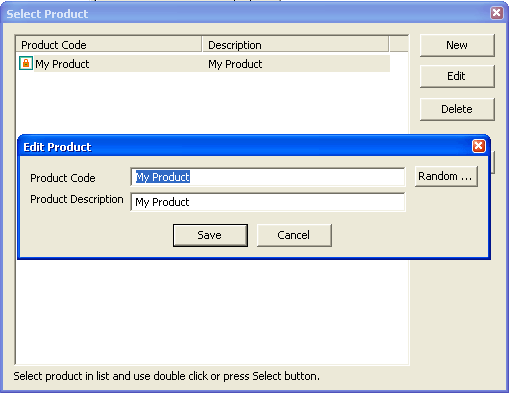
Evaluation Period

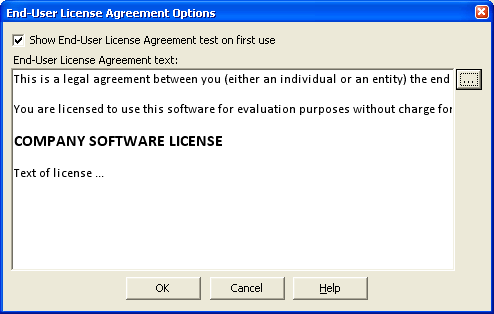
End User License Agreement
Time Selection Options
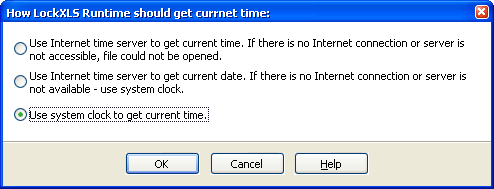
There are 3 options. You can select any of them, in our example we leave default value - use system clock on customer's PC.
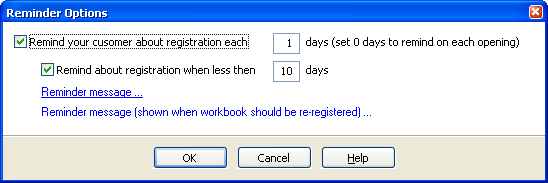
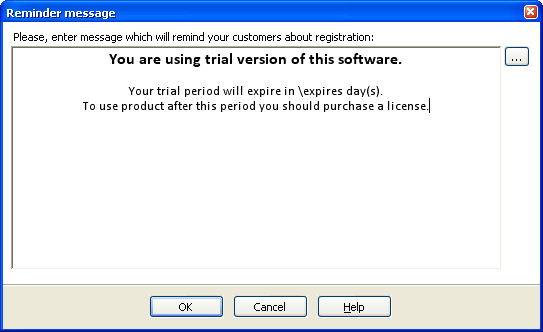
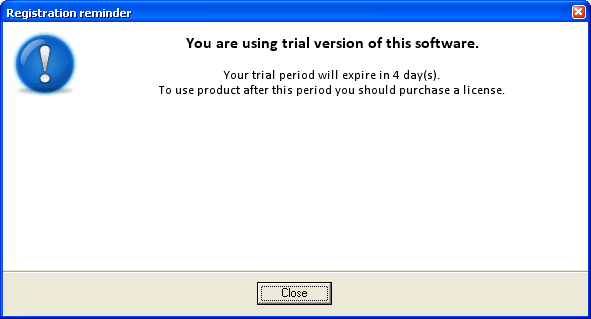
Remind Customer About Registration
Customize Activation Messages
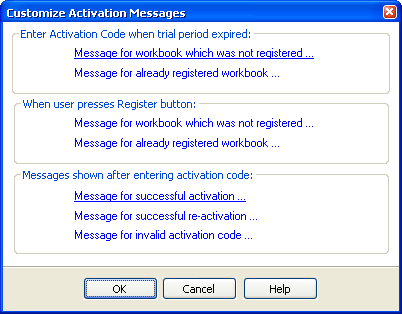
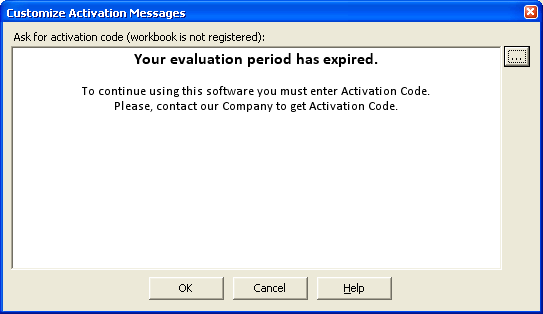
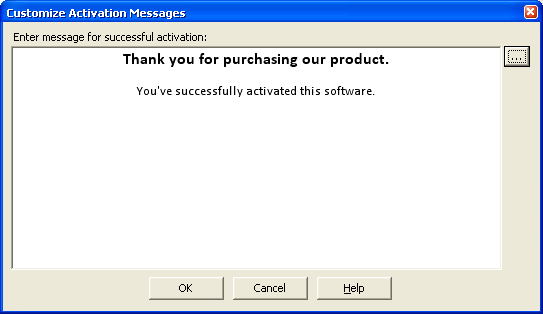
In this example we add messages shown when trial period expires and customer must enter Activation Code, and message for successful activation. We've used WordPad to create 2 files AskForActivationCode.rtf and SuccessfulActivation.rtf. Both of them are in the LockXLS Sample Project folder.
Now click on the first link and select AskForActivationCode.rtf file by clicking ... button.
Then click on the Message for successful activation ... link and select SuccessfulActivation.rtf
Project is ready.
Now save your project, rebuild it and test.
Run Example_Locked.exe from the LockXLS Sample Project folder. At first
you will see splash window, then End User License Agreement
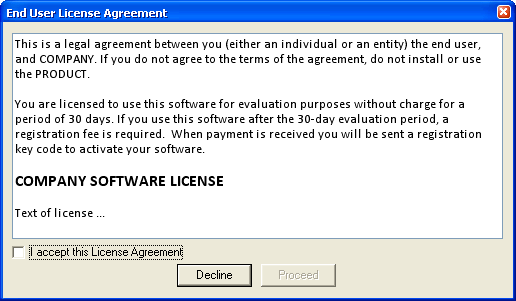
After accepting EULA - protected workbook is opened. Close Excel and run Example_Locked.exe it again. Now there will be no EULA window - it is shown only once.
Then, open Adjust Date\Time dialog on your PC and change data to the month ahead. Now evaluation period of our file should expire, launch it, it will ask you for Activation Code:
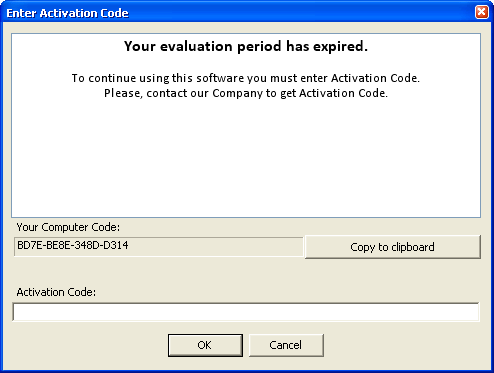
Generate Activation Code using LockXLS Activation Code Generator and copy it into this window. Now you see message about successful activation:
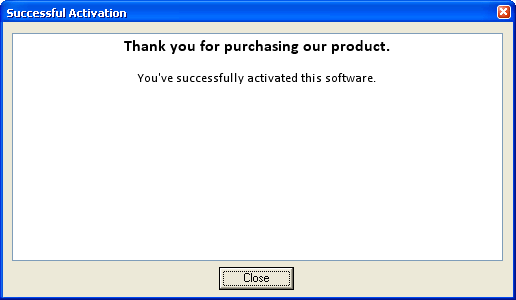
Rollback your date in the Adjust Date\Time dialog.
Resume

